小米路由器AX3600 root+安装ssh+shellclash进行透明代理
date
Feb 27, 2022
slug
xiaomi-ax3600-router-shellclash
status
Published
summary
500块可以买的wifi6翻墙路由器
tags
nas
科学上网
type
Post
URL
Problem & Summary需要下载的工具参考视频 - https://qust.me/post/ax3600_shellclash/Solution - 好处是可以升级,但有可能掉ssh1- 路由器firmware降级到1.0.172- 开启root+ssh3- 安装shellclash - 4- 配置+使用 - http://192.168.31.1:9999/ui (api要去掉/ui部分)如升级后ssh被禁用可以用telnet登录,执行下面代码再次启用ssh自动生成pac - http://192.168.31.1:9999/ui/pac更多的root工具用法 - https://github.com/paldier/ax3600_toolAsus AC68U 路由器突然无法上的问题原文截屏 https://qust.me/post/ax3600_shellclash/
Problem & Summary
- root,开启ssh的工具:‣
- shellclash的github: https://github.com/juewuy/ShellClash/blob/master/README_CN.md
需要下载的工具
参考视频 - https://qust.me/post/ax3600_shellclash/
Solution - 好处是可以升级,但有可能掉ssh
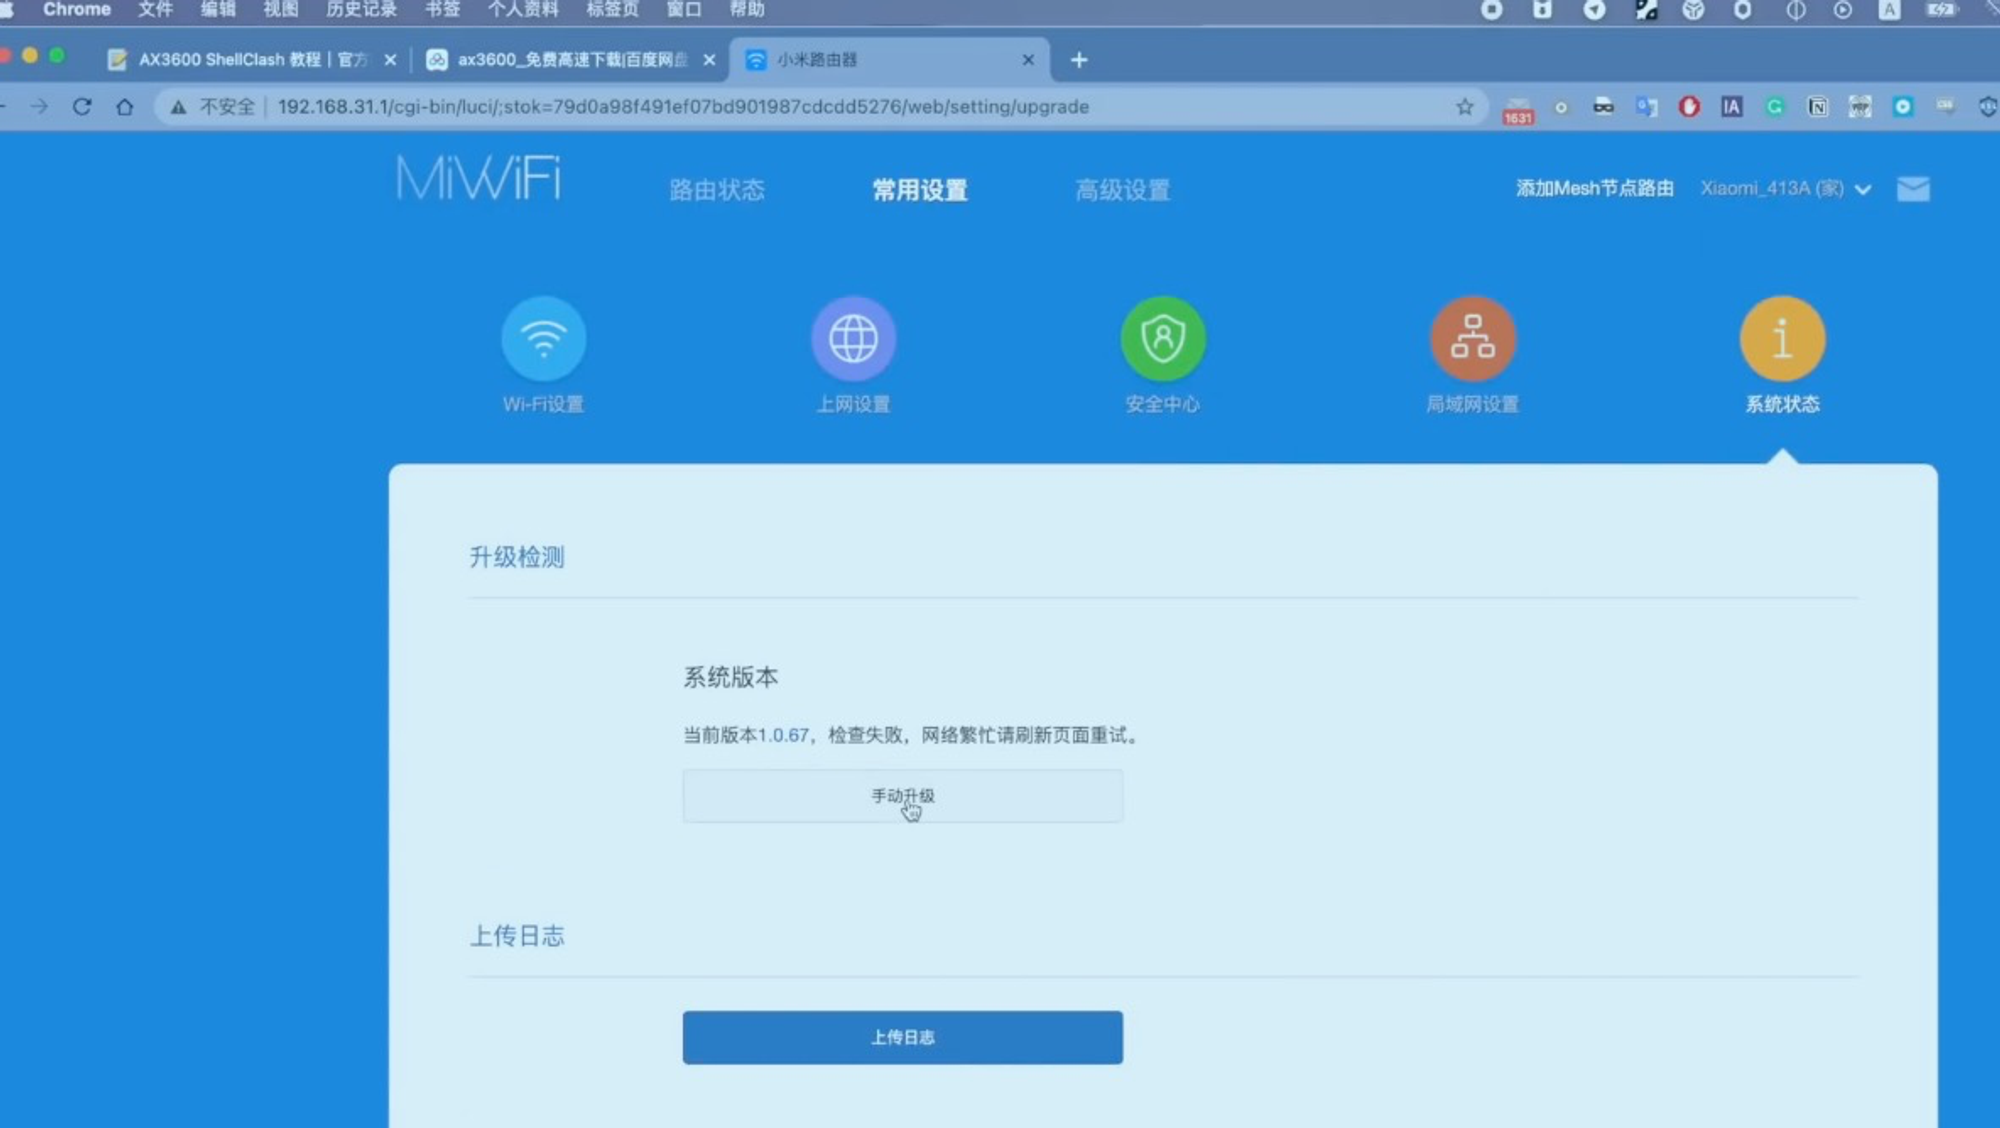
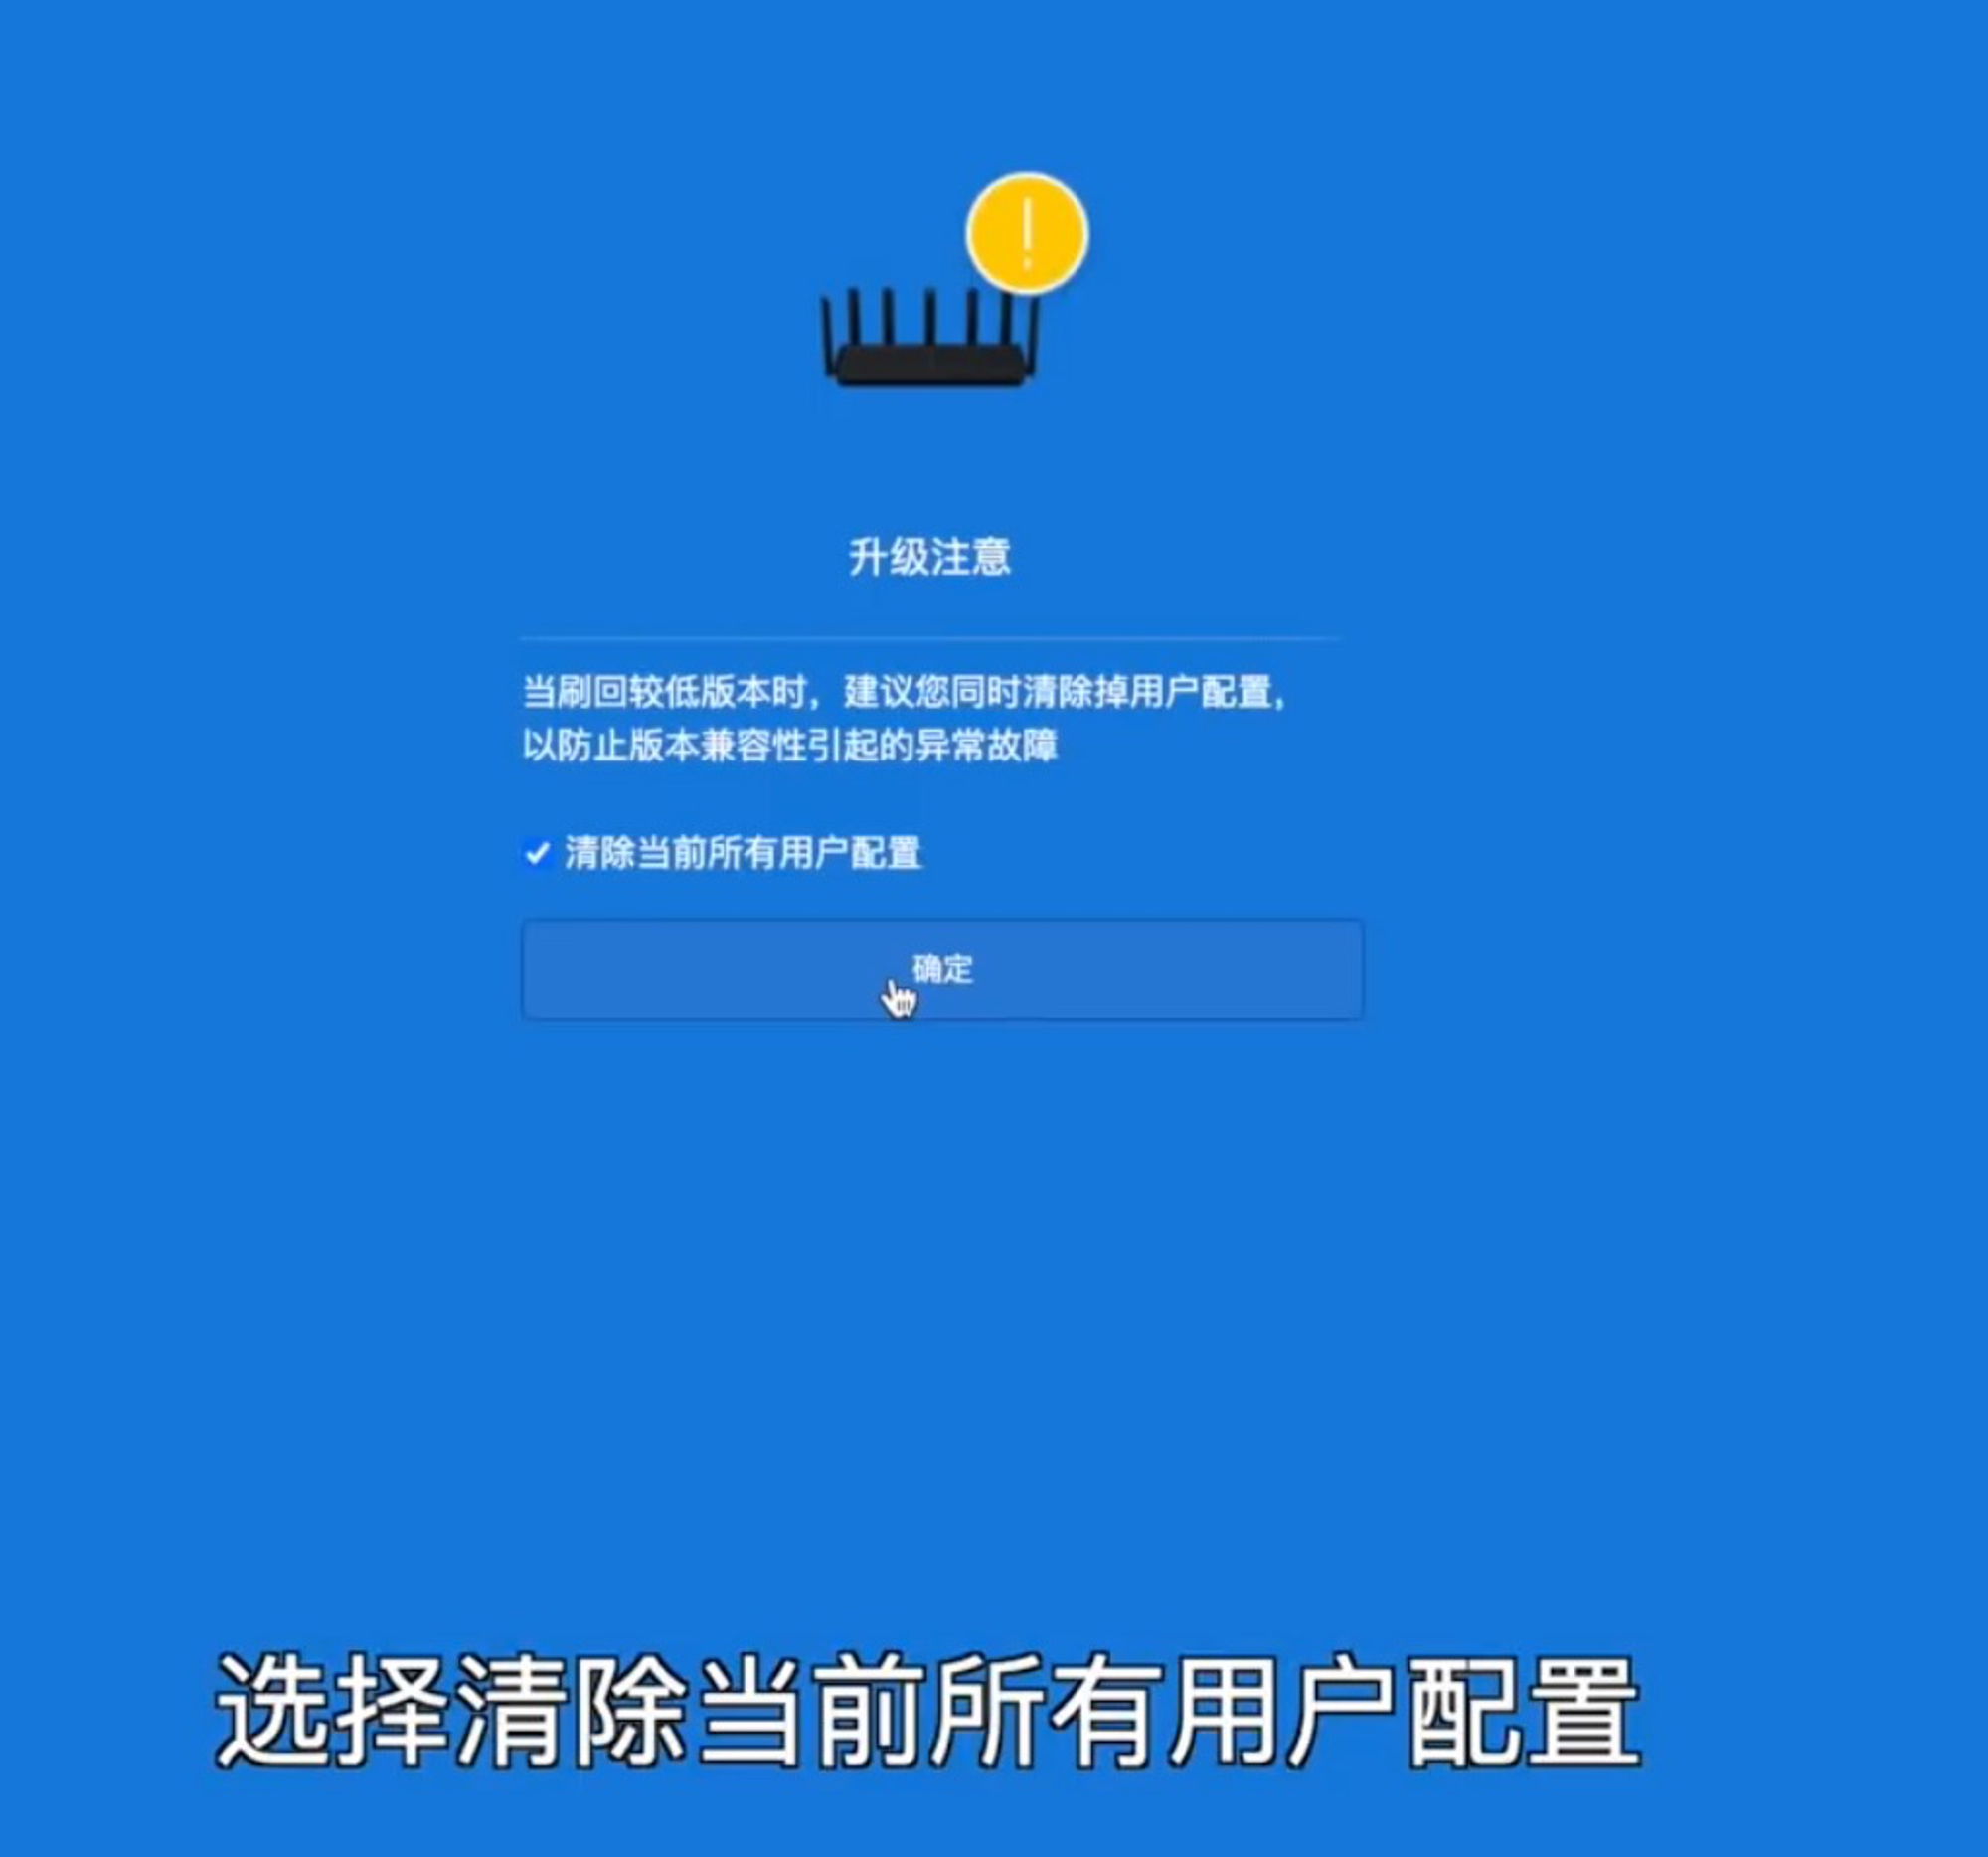
1- 路由器firmware降级到1.0.17
2- 开启root+ssh
# 获取后台 STOK (token)
# 替换项目的链接到浏览器打开

### 开启ssh
http://192.168.31.1/cgi-bin/luci/;stok=<STOK>/api/misystem/set_config_iotdev?bssid=Xiaomi&user_id=longdike&ssid=-h%3B%20nvram%20set%20ssh_en%3D1%3B%20nvram%20commit%3B%20sed%20-i%20's%2Fchannel%3D.*%2Fchannel%3D%5C%22debug%5C%22%2Fg'%20%2Fetc%2Finit.d%2Fdropbear%3B%20%2Fetc%2Finit.d%2Fdropbear%20start%3B

### 密码设定为 admin
http://192.168.31.1/cgi-bin/luci/;stok=<STOK>/api/misystem/set_config_iotdev?bssid=Xiaomi&user_id=longdike&ssid=-h%3B%20echo%20-e%20'admin%5Cnadmin'%20%7C%20passwd%20root%3B

ssh root@192.168.31.1  # password is admin

# 备份
mkdir /tmp/syslogbackup/
dd if=/dev/mtd9 of=/tmp/syslogbackup/mtd9

# 浏览器请求该地址下载备份
http://192.168.31.1/backup/log/mtd9

# 固化 SSH - 从local电脑上传入
scp fuckax3600 root@192.168.31.1:/tmp
ssh root@192.168.31.1
chmod +x /tmp/fuckax3600
/tmp/fuckax3600 unlock  # 系统会自动重启
# 重新 SCP 上传一遍脚本(因为 tmp 重启会被清空)
scp fuckax3600 root@192.168.31.1:/tmp
ssh root@192.168.31.1
chmod +x /tmp/fuckax3600
/tmp/fuckax3600 hack
/tmp/fuckax3600 lock
# 这会设置永久的 ssh、telnet、uart 权限,也会计算出默认的密码,记得保存
备份
3- 安装shellclash - ‣
opkg update && opkg install curl
# 如下载出错,想去github页面看看最新的链接
* https://github.com/juewuy/ShellClash
* 进入http://192.168.8.1:9999/ui 修改配置
* ssh 进入,cd /etc/clash 换config.yaml
#fastgit.org加速
export url='https://raw.fastgit.org/juewuy/ShellClash/master' && sh -c "$(curl -kfsSl $url/install.sh)" && source /etc/profile &> /dev/null
#GitHub源
export url='https://raw.githubusercontent.com/juewuy/ShellClash/master' && sh -c "$(curl -kfsSl $url/install.sh)" && source /etc/profile &> /dev/null
#jsDelivrCDN源
export url='https://fastly.jsdelivr.net/gh/juewuy/ShellClash@master' && sh -c "$(curl -kfsSl $url/install.sh)" && source /etc/profile &> /dev/null
#作者私人源
export url='https://shellclash.cf' && sh -c "$(curl -kfsSl $url/install.sh)" && source /etc/profile &> /dev/null
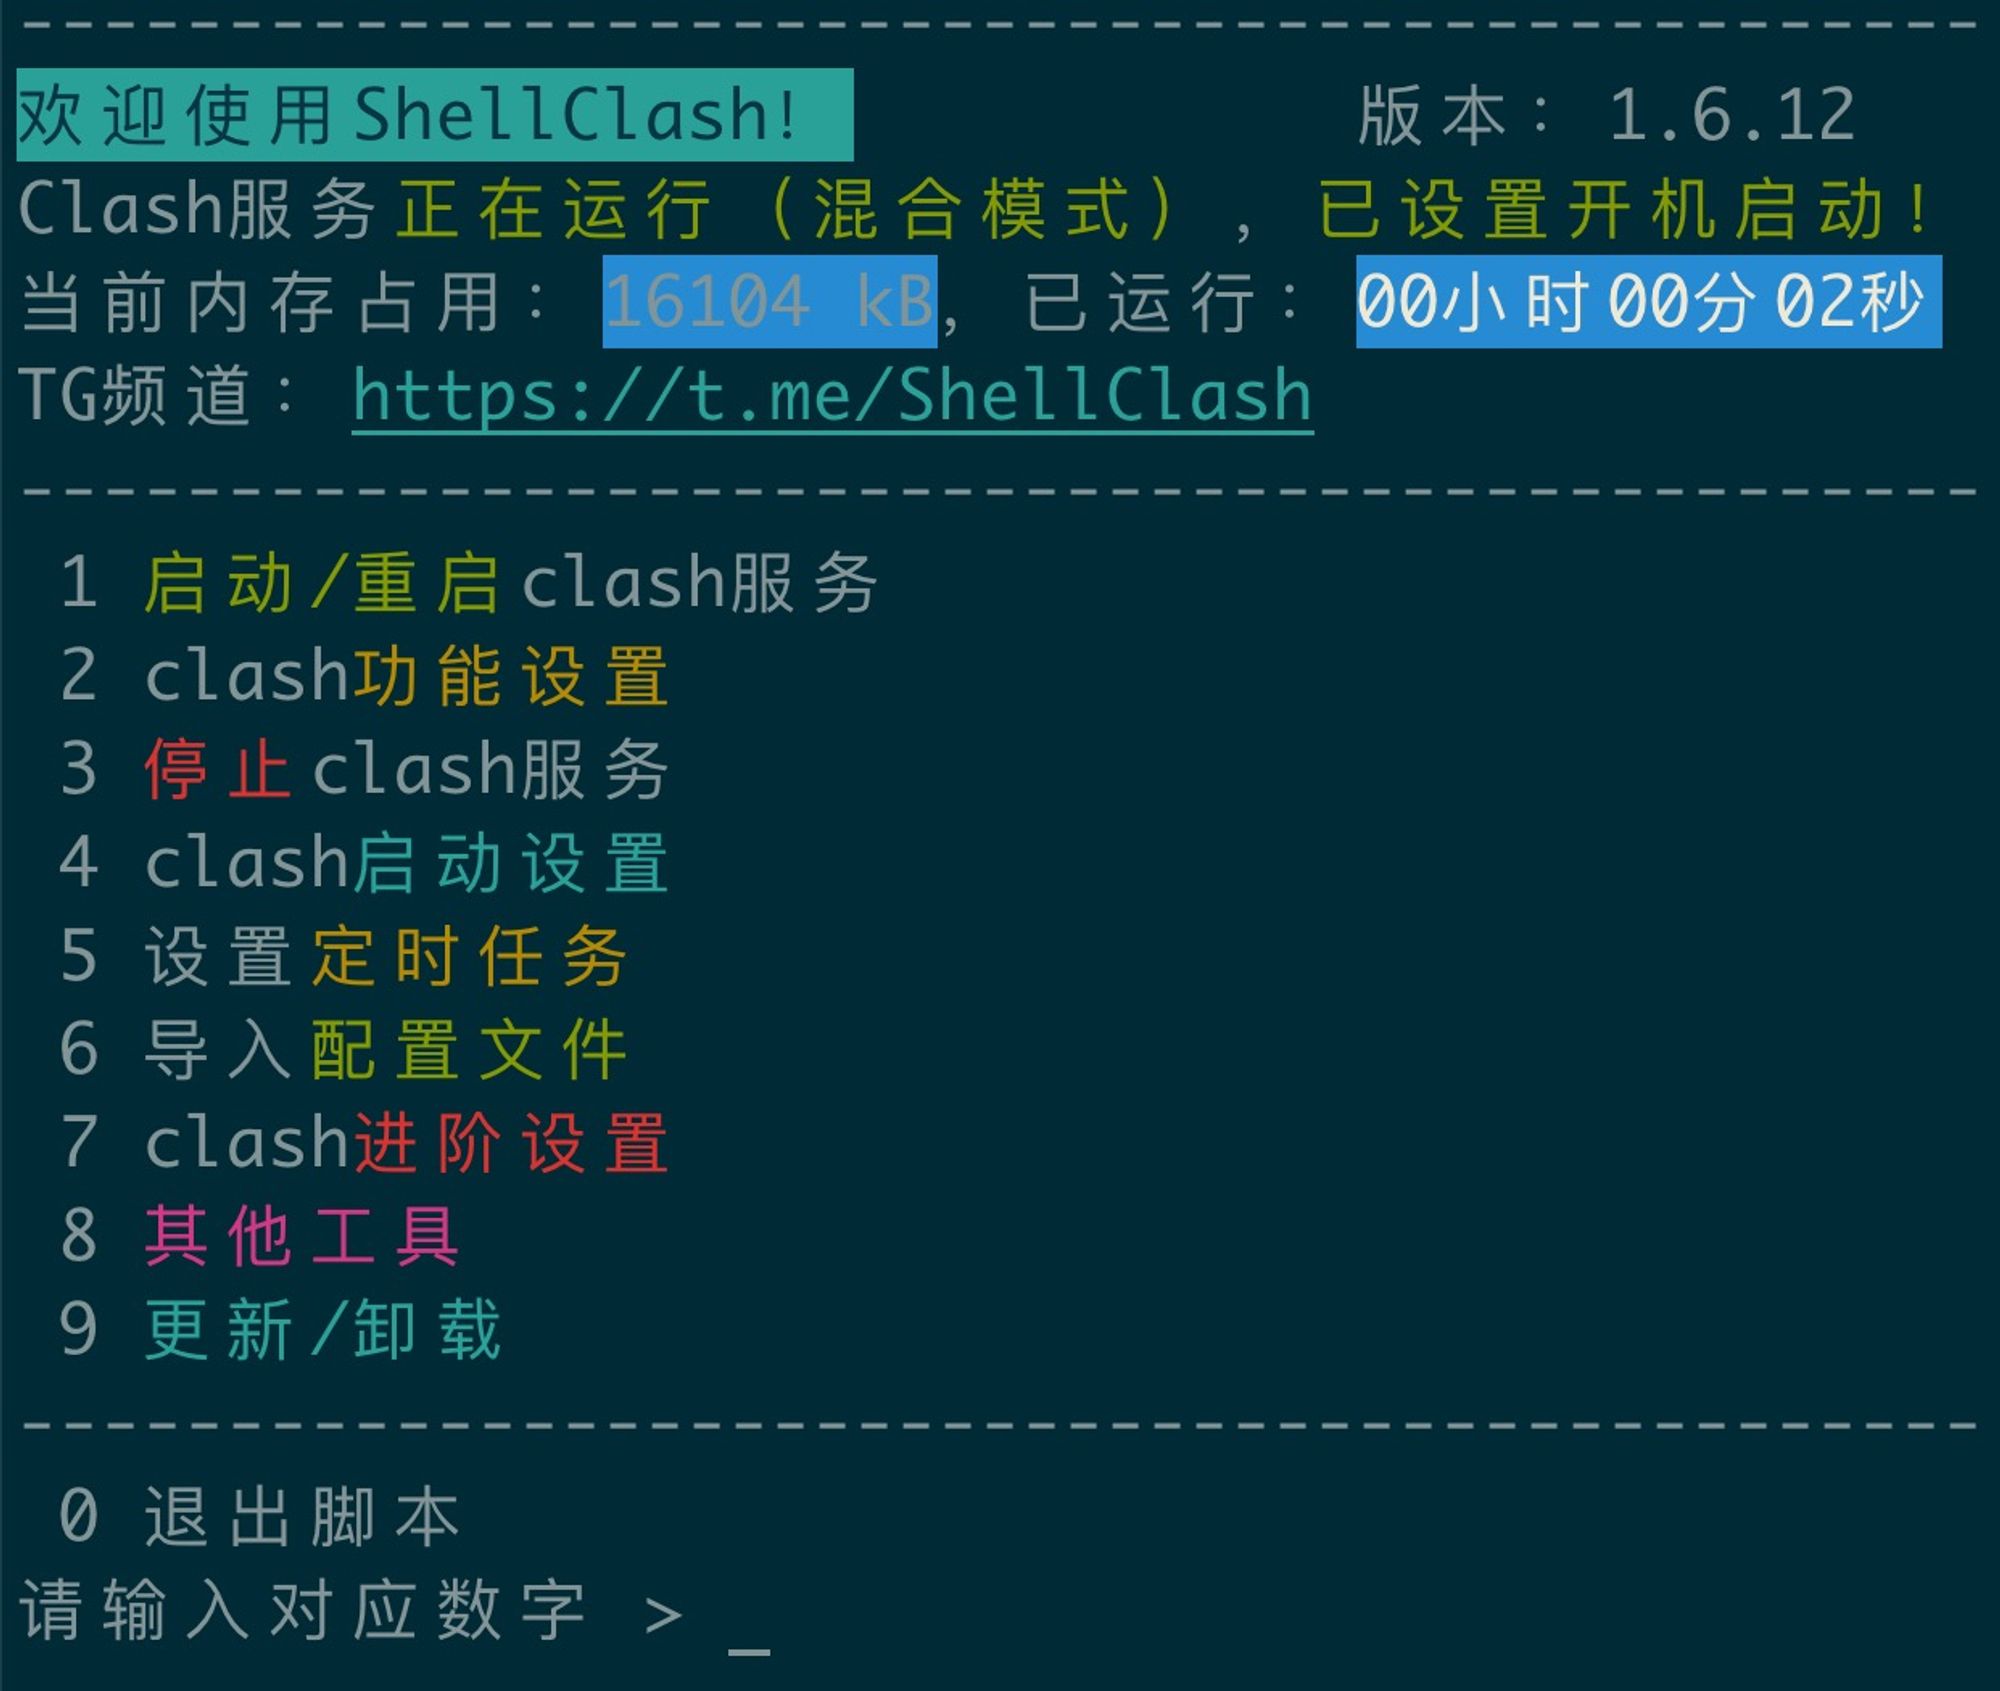
# ~安装完成管理脚本后,执行如下命令以运行管理脚本 /etc/clash
clash #正常模式运行
clash -h #脚本帮助及说明
clash -u #卸载脚本
clash -t #测试模式运行
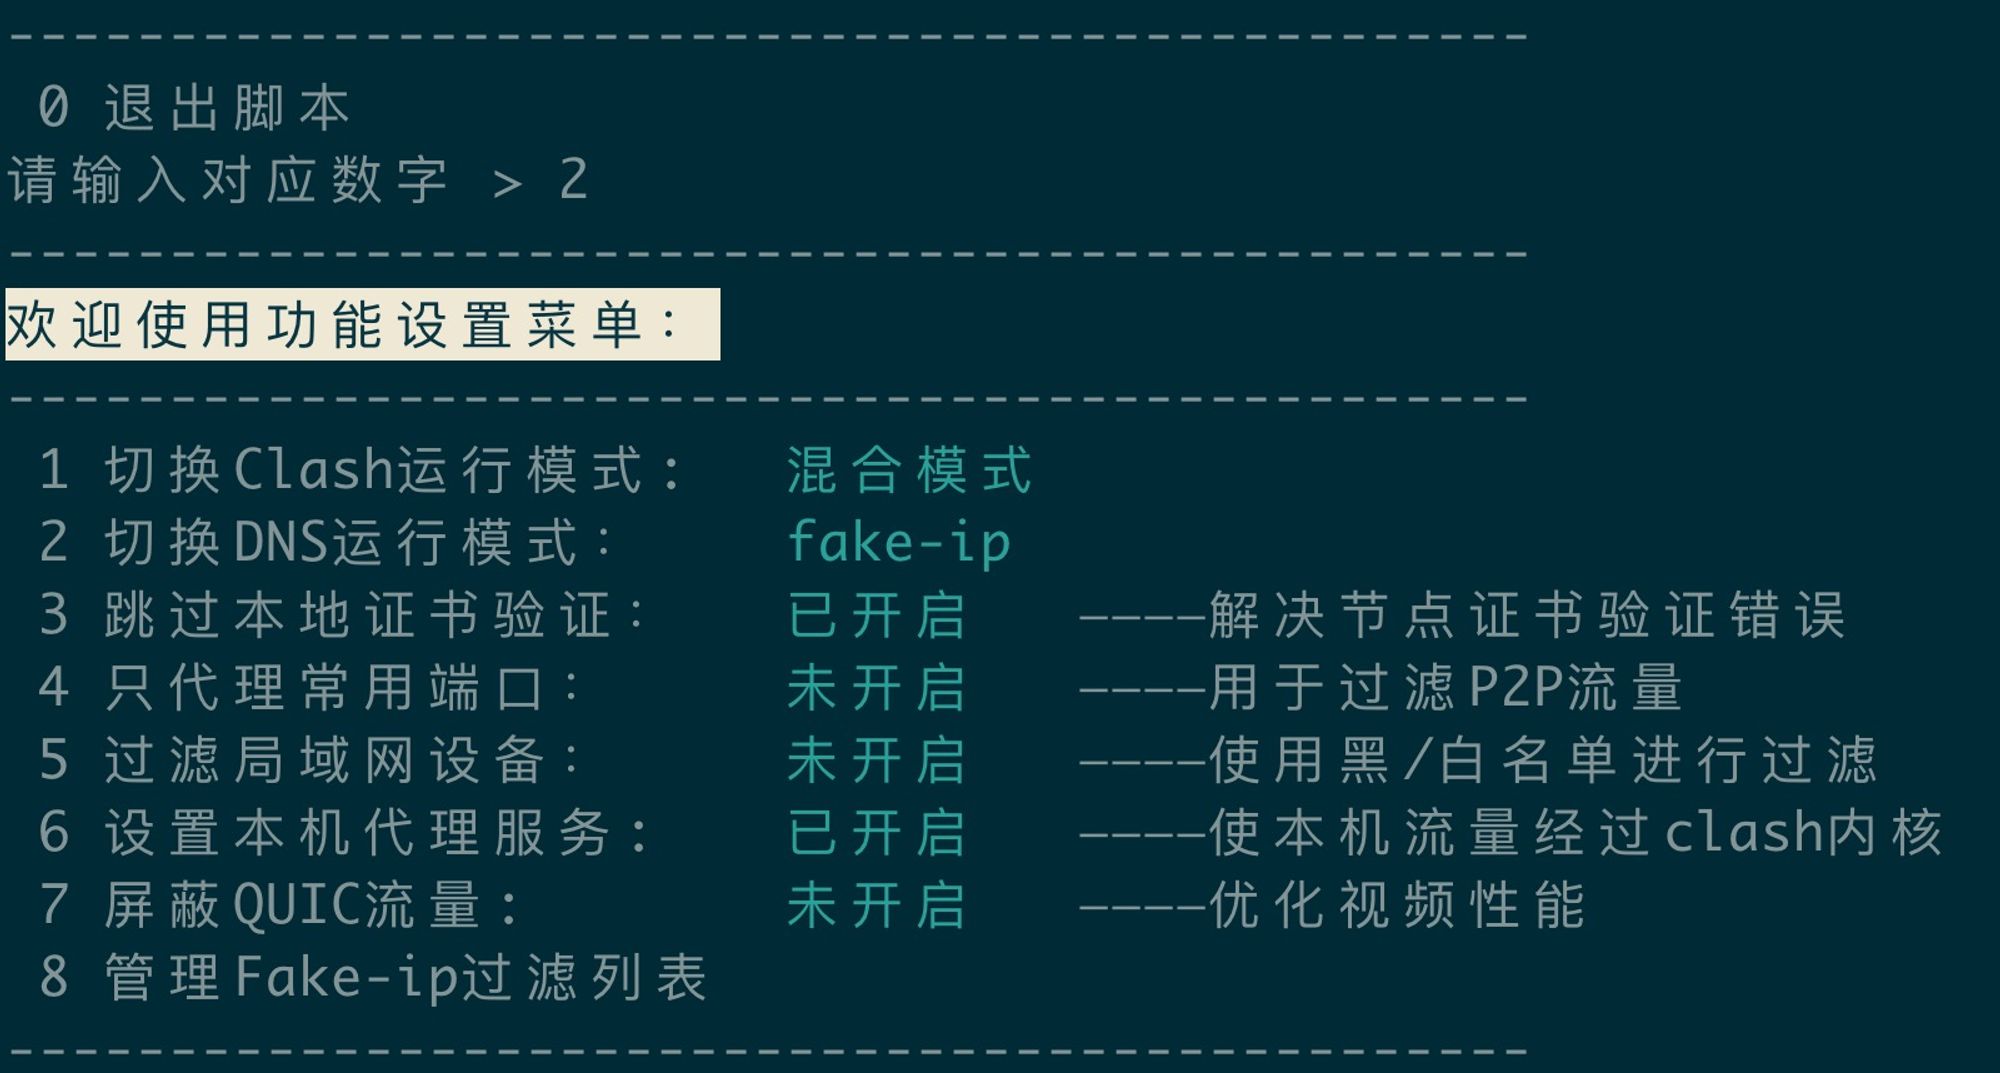
### DNS选择fake-ip
### 不需要udp
### 推荐选择 Yacd 面板
### 设置使用开启启动
### 设置本机代理服务: 已开启 ————使本机流量经过clash内核
### 每天自动更新订阅并重启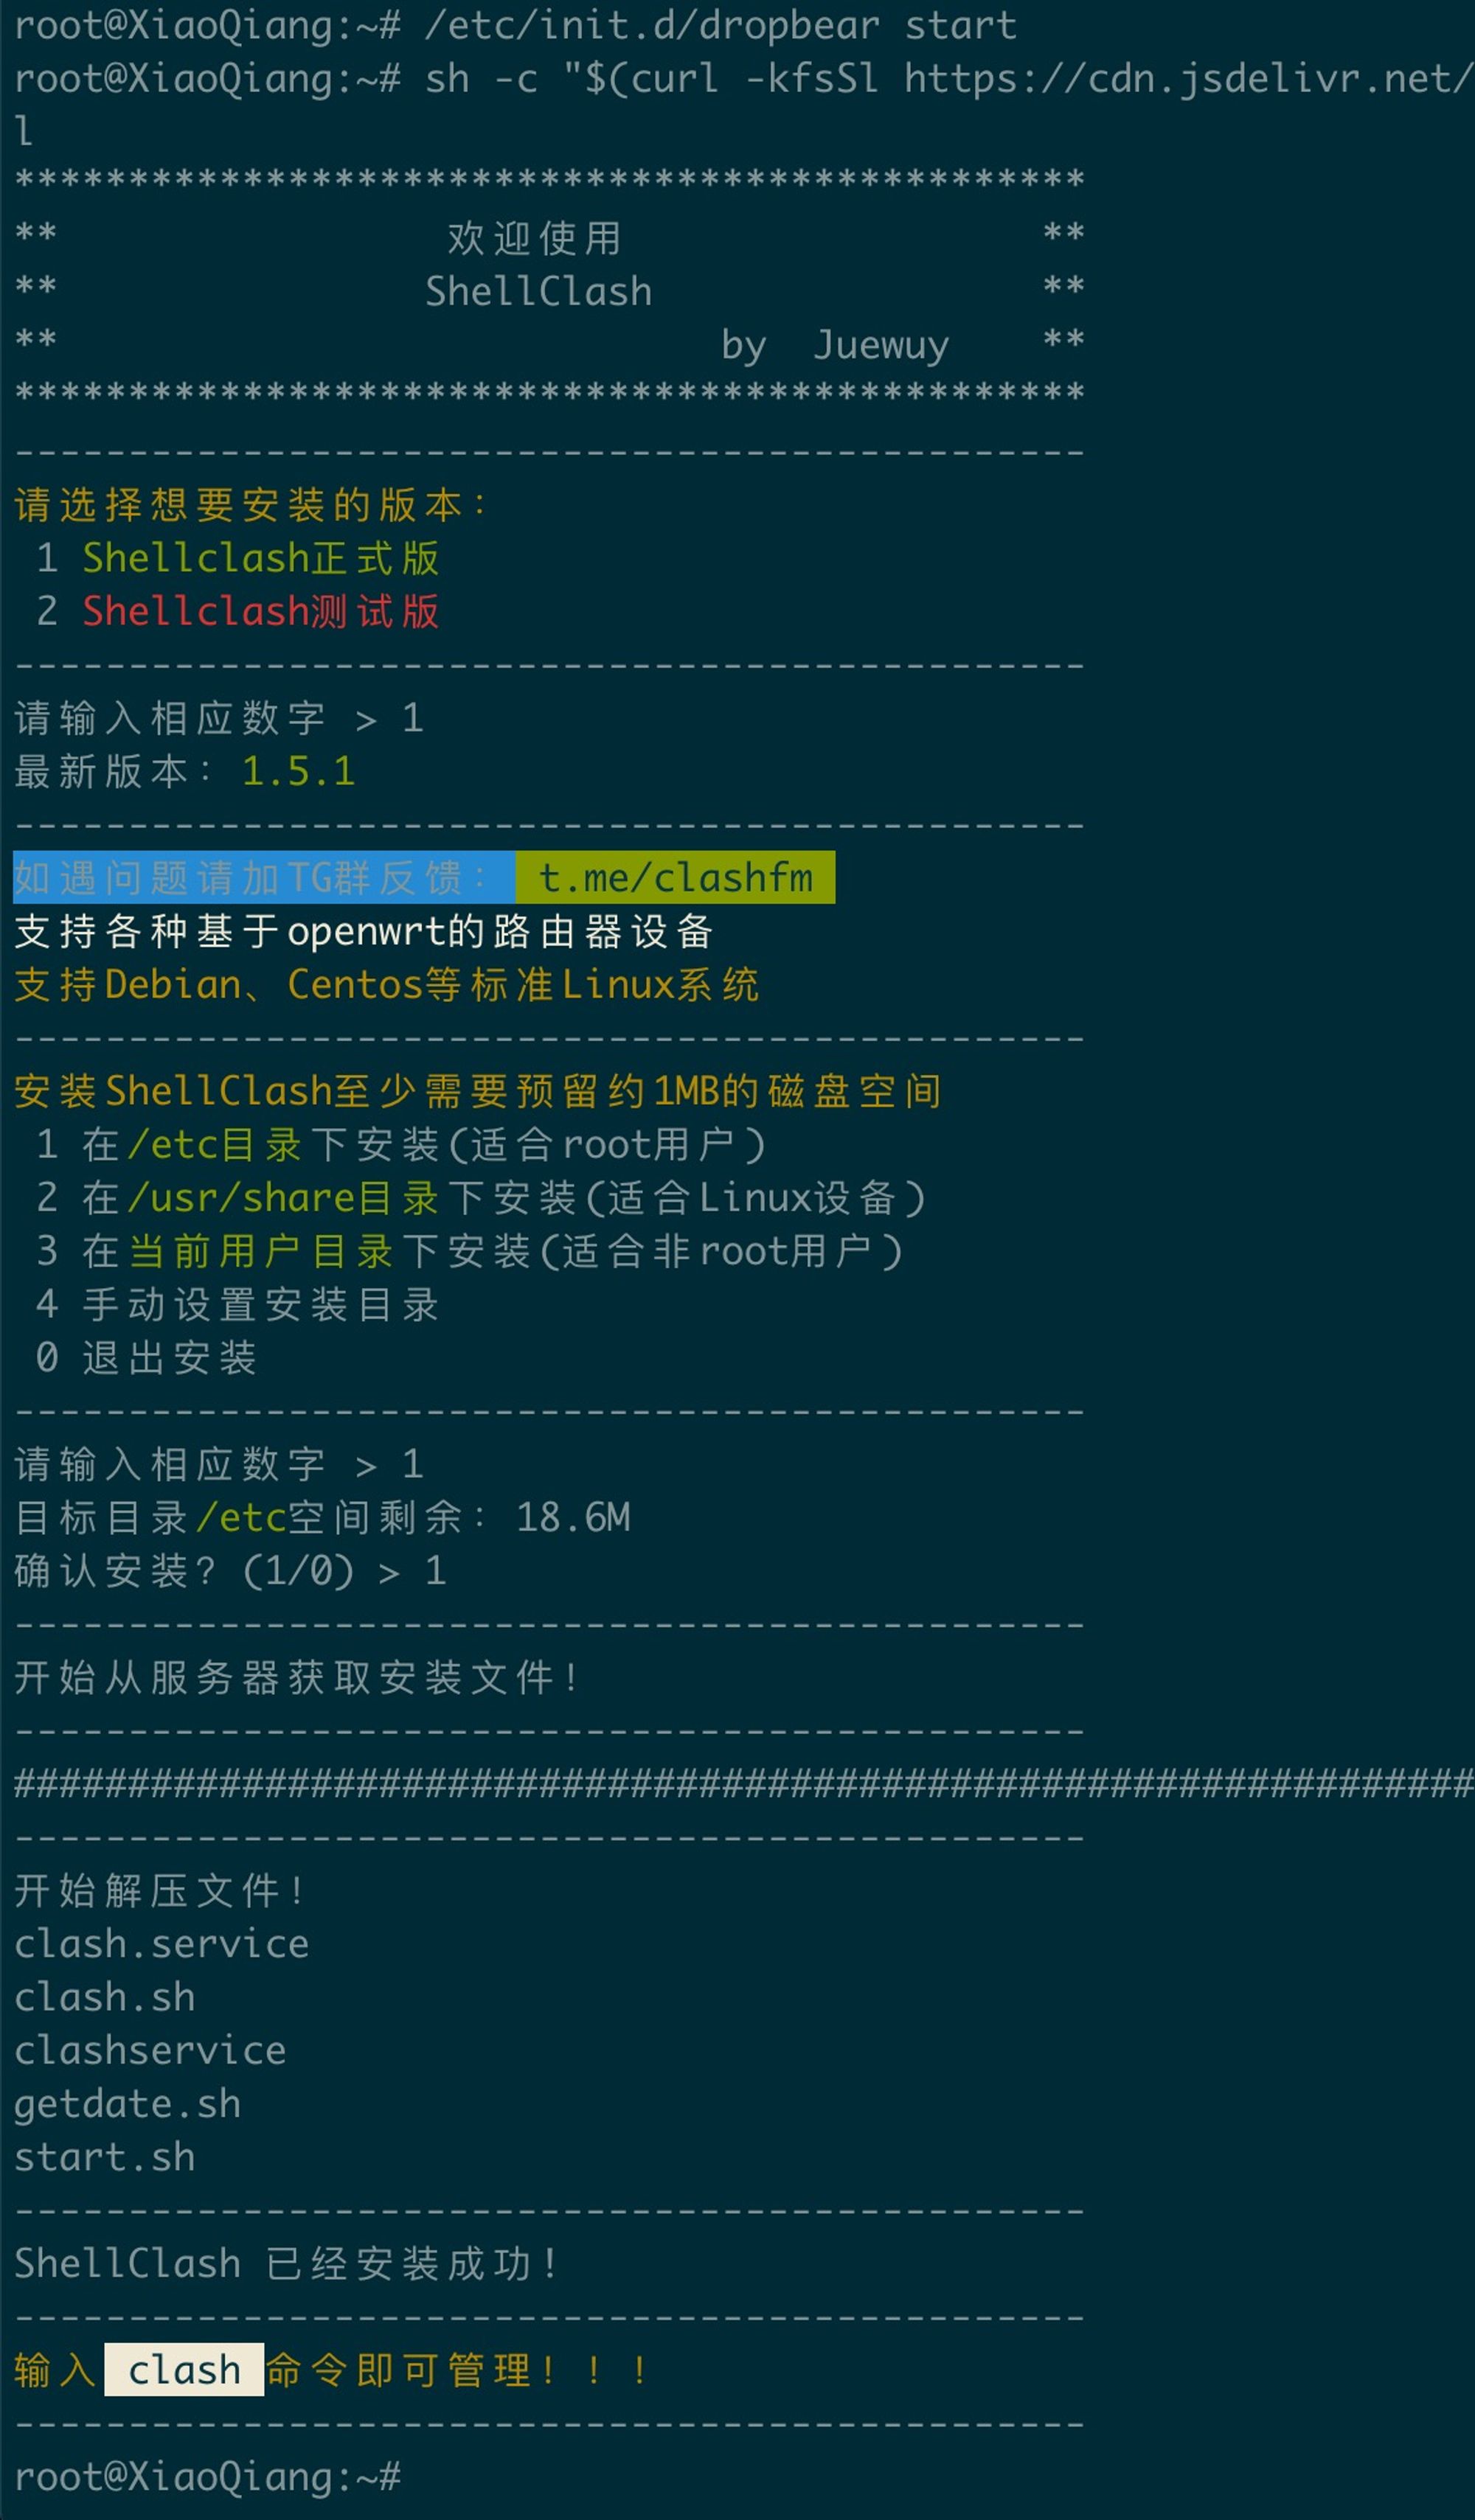
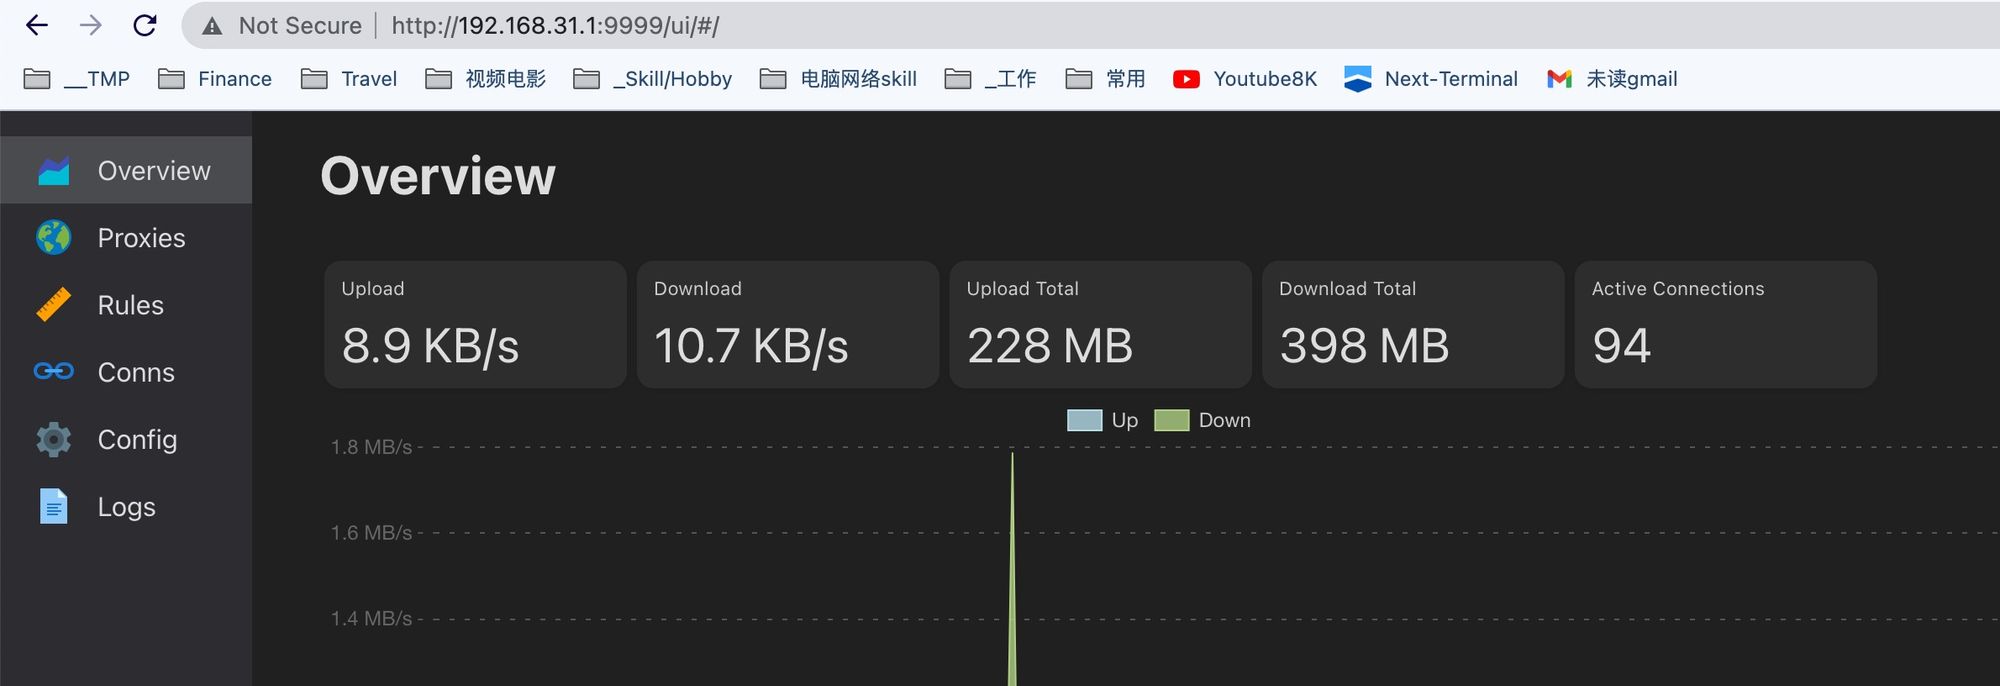
4- 配置+使用 - http://192.168.31.1:9999/ui (api要去掉/ui部分)
如升级后ssh被禁用可以用telnet登录,执行下面代码再次启用ssh
telnet 192.168.31.1


sed -i 's/channel=.*/channel="debug"/g' /etc/init.d/dropbear
/etc/init.d/dropbear start
自动生成pac - http://192.168.31.1:9999/ui/pac
更多的root工具用法 - https://github.com/paldier/ax3600_tool
/tmp/fuckax3600  password
/tmp/fuckax3600  model
/tmp/fuckax3600  sn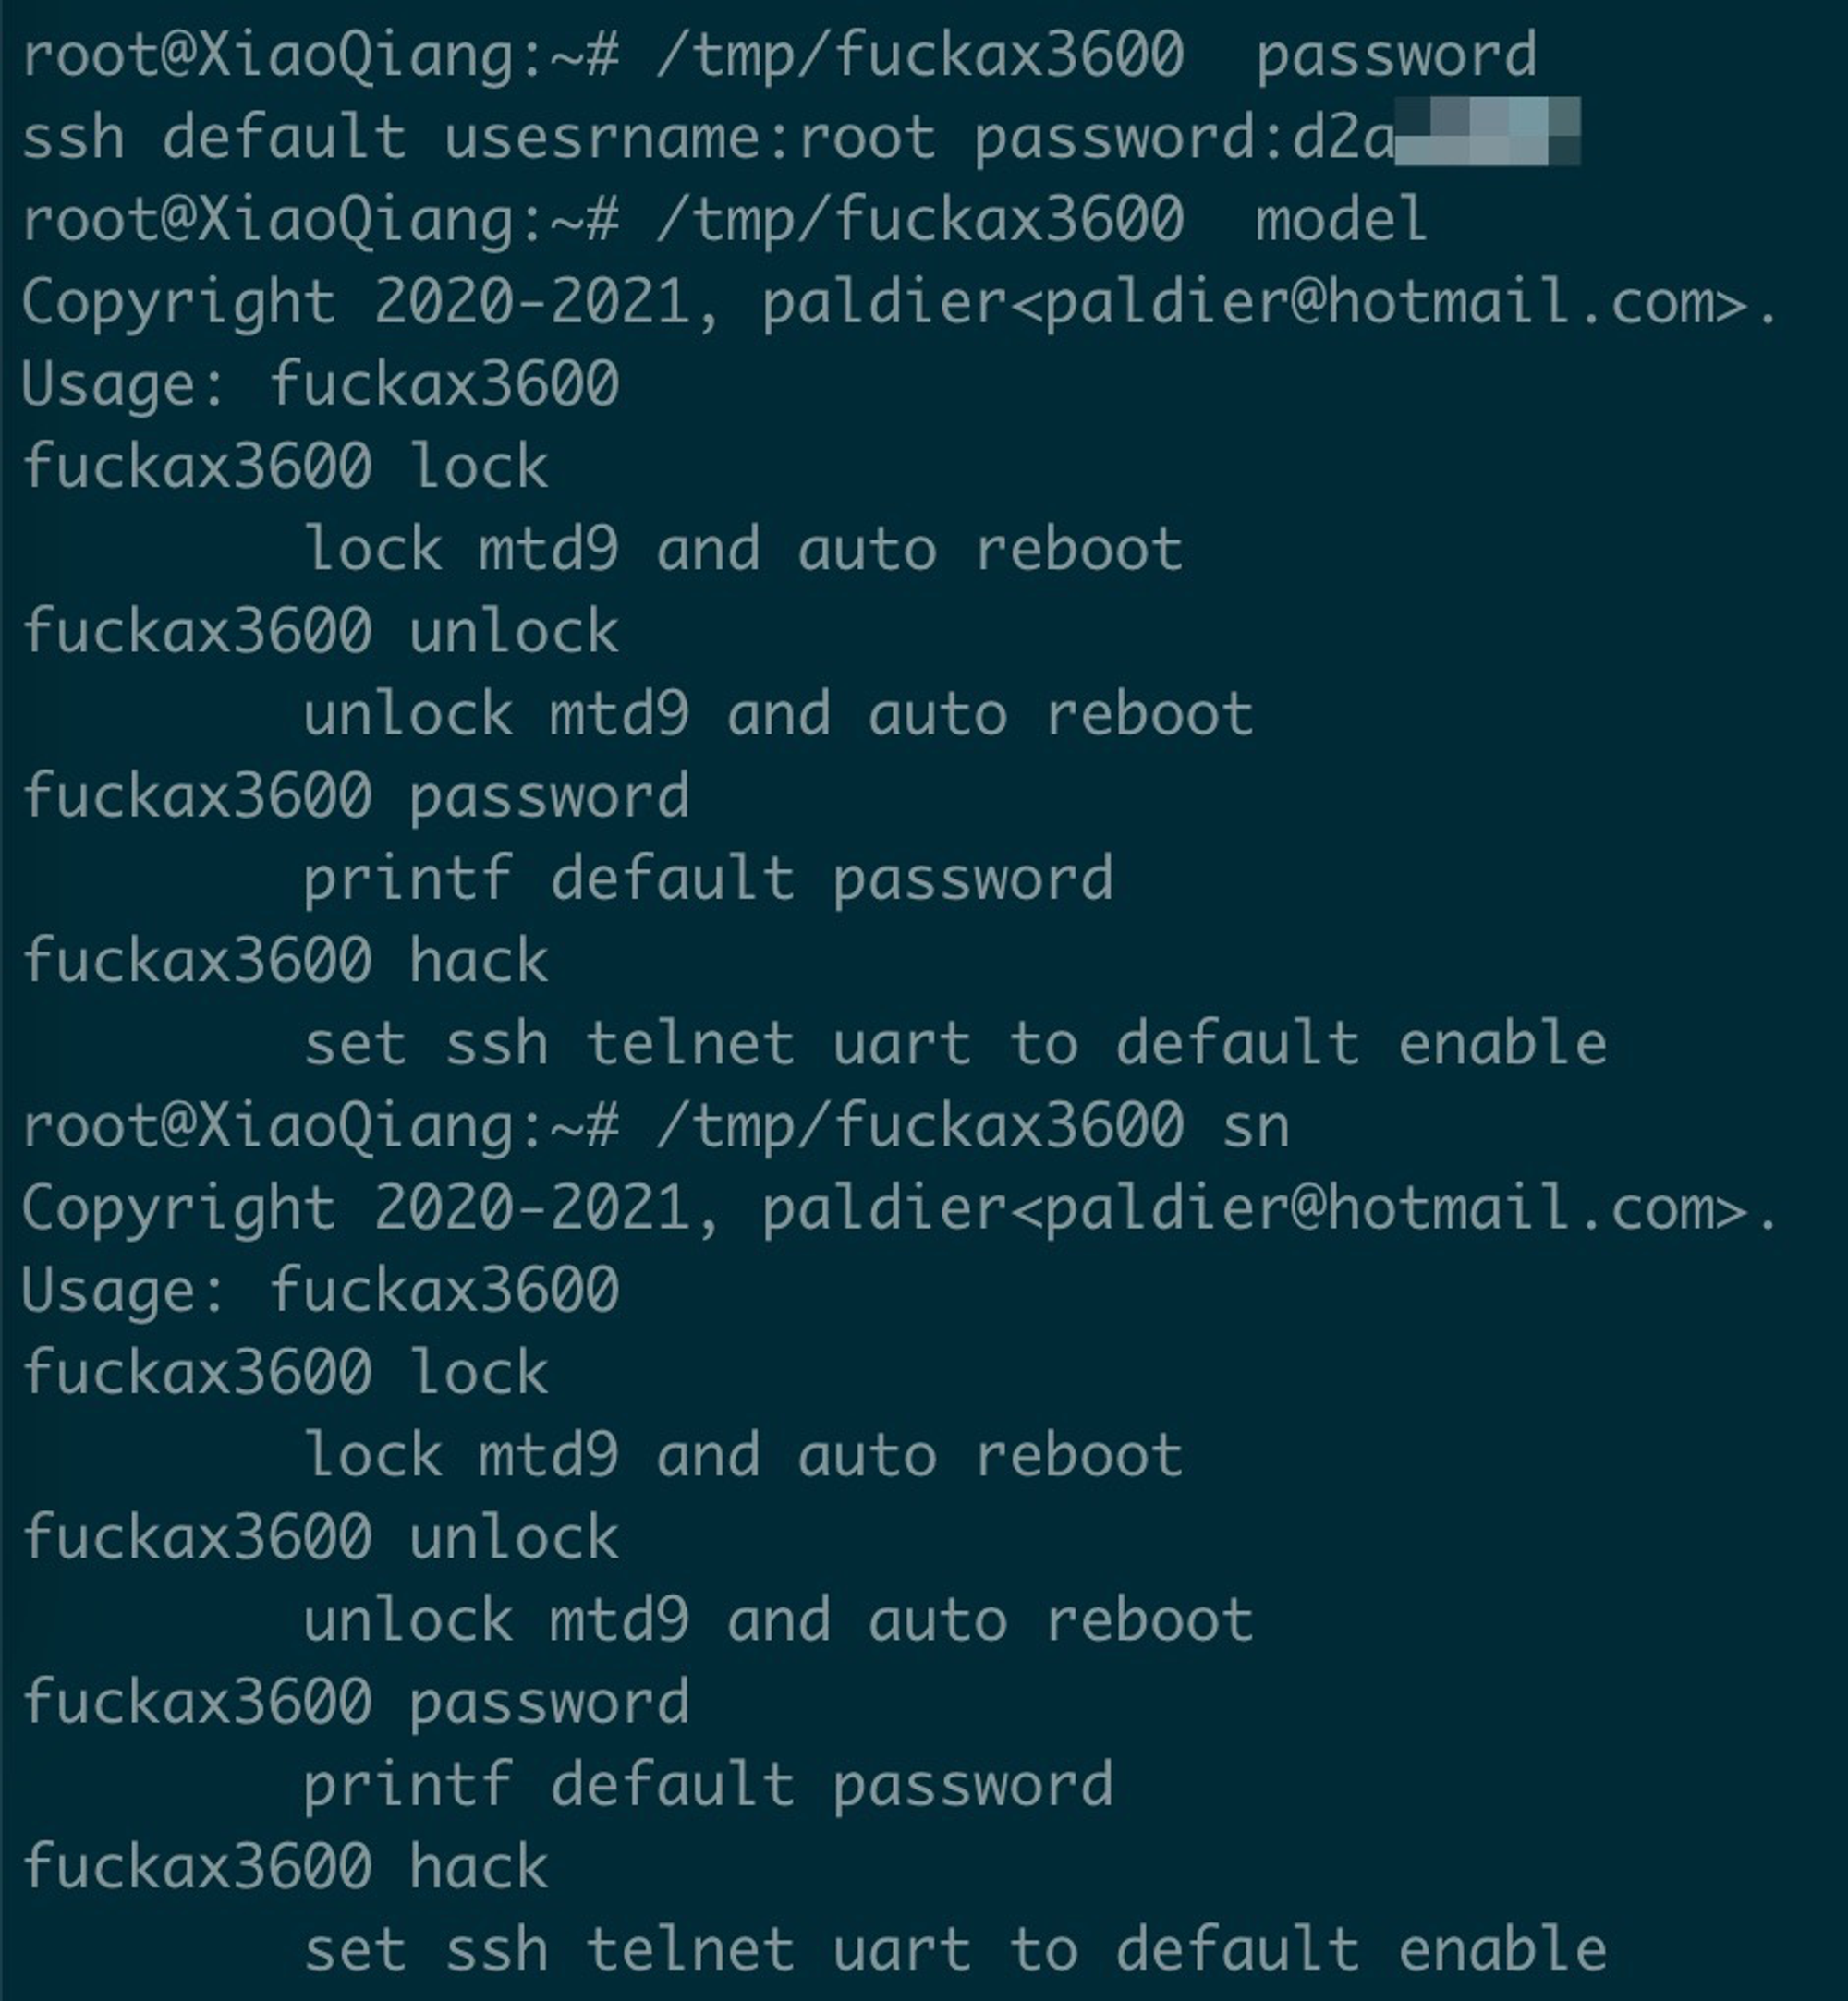
Asus AC68U 路由器突然无法上的问题
- 其实是dns的解析除了问题
- 改成混合(TCP Redir + UDP Tun)+ fake-ip即可解决
原文截屏 https://qust.me/post/ax3600_shellclash/
